Gerome - Modeller, Sound, Compositing, Rendering
I looked forward to this as it was one of my stronger points as well as knowing I would be able to learn more about it as I was progressing through the project. As seen, I have looked at a abundance of tutorials and step by step explanations of how to get my models looking as good as possible but with the least render time possible which lead me into displacement maps. With the knowlage that my low poly objects, after being scuplted in Mudbox, could be projected as the high poly version during render in Maya I introduced Deon to the bonuses and he learnt about it strait away, using Mudbox to paint as well.
I also gathered some sound clips and effects from a free sound clip website. Myself and Deon arranged these for the compilation while we composited the entire film together late at night using After Effects and Sony Vegas:
Here Are all the objects I have modelled: (which was my Role)

Original tree for testing mudbox

Tree with texture after being modelled and painted in Mudbox, which lead me to teach Deon.

Final tree ready for mudbox

Low poly tree subdivided and sculpted in Mudbox.

Branch texture I asked Sarah to quickly make for me to apply to a flat plane, to use for leaves in Maya. I learnt this after looking in games as well as tutorials.

Applied it all over the tree.

Final result in Low Poly

Landscape low poly in Maya

Land scape high poly in Mudbox.
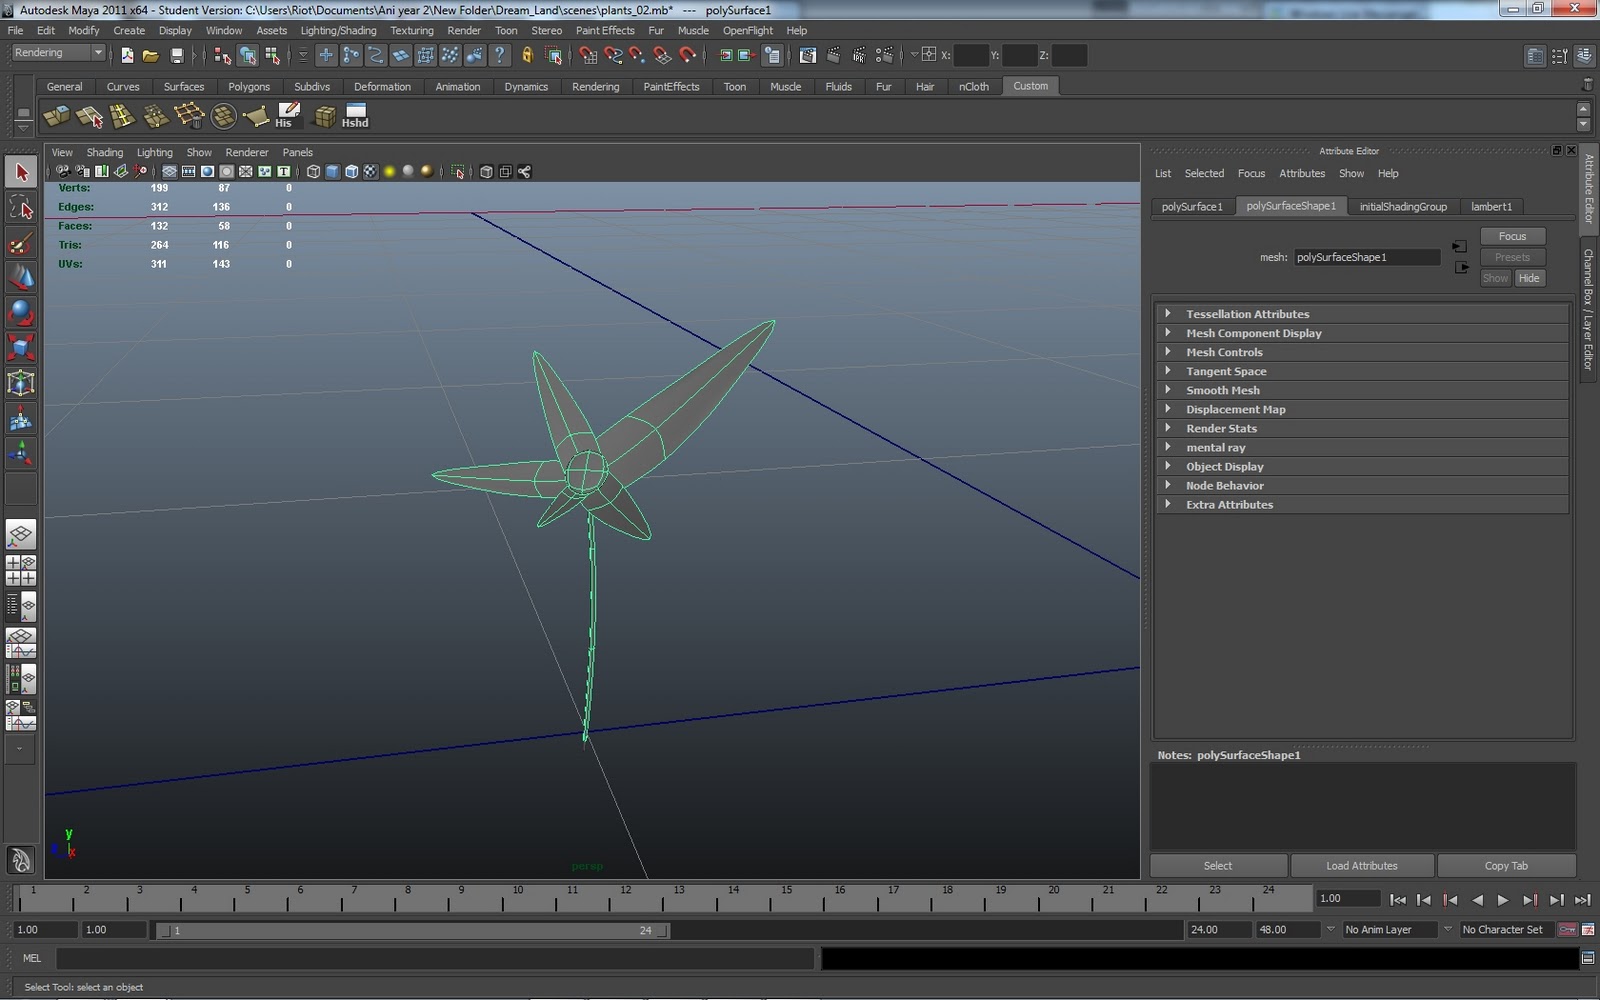
Low poly plant 1

Low poly plant 2

Low poly plant 3

Low poly seat for swing

ropes created after watching a few tutorials and some advice.

Final swing

Added a bit of bump to the seat to give it more of a wooden feel.

Spider legs for The character called the spider.

Duplicating the rigged legs and positioning them.

Get an idea of space due to having no tracking for this section and animate with props set up.

Due to still not getting a tracked footage, learning to match move and find out that auto tracking was used for the other clips which isn't the correct way to do it, plus it takes 5 minutes to do it that way, but still it got done less than a week before deadline.

Due to there not being enough reference points for this footage and time left, having to manually move the object by eye with each frame in Maya.

Very dimply keyed out green with no effort to clean it up, also the wrong clips were keyed, so we had to make due.

As seen the Screen Matt had barley been touched, which left grey at the top.

Sorted that out simply

Added a hard colour replacement which to make any green spill a bit less noticeable.

Added a simple chocker to remove any green outlines and clean up edges.

Changed the colour levels to match the environment. As well as the Exposer to match the amount of light in the scene.

The markers were masked out but, they weren't looked at properly as there were clips which the character walked through one and she there for would have see-through blocks on her body.

I went to the time line and fixed them up, so that they move with the character.
Over all I'm upset and annoyed with the 3 members of the group. we could have got this looking even better than it is but because people wanted to slack and choose priorities such as staying at home or going to work, over a full time Uni course, we had no work done when it was needed. This lead to once again, me and Deon staying up till 4 in the morning doing other peoples jobs for them. Ash would also miss he late shifts at work staying in with us.
When deadlines were set in the group, no one wanted to listen and abide to them which lead the whole process to be allot longer and more stressful than it needed to be. Over all, we got it done, but if I'm honest? This could have been avoided if A. People just did what there roles were and B. If they couldn't do it, for what ever reason, tell us so we may be annoyed, but at least we have time to do it. Don't make us rush at the very end of the project because you can't get off your ass to do more than 1 piece of "work".
Also once again issues such as a member of the group being upset because she wanted to render everything on her mac book when both me and Deon have £2,200 - £2,600 machines and it took us 3 - 4 days to render the lot. I feel some people just don't think ahead, they just think in the now, and believe that the standard (how ever low it may be) is OK, and when shouldn't strive to be higher.
I'm happy with our outcome, but I put that down to Hard work and effort from Me, Deon, Ash and Dom.